Difference between revisions of "Fingerprint Scanner"
From Wageloch Wiki
| Line 1: | Line 1: | ||
If you've elected to use a fingerprint scanner as your clocking method, you | If you've elected to use a fingerprint scanner as your clocking method, you are required to install Wageloch Time Kiosk on a Windows-based computer. You can find a step by step guide over at <b>[[Installing Wageloch]]</b>. | ||
<br><Br> | |||
As the fingerprint scanner involves biometric scanning, it's important that we mention the <b>[[Biometric Privacy]]</b> and how data is stored. | |||
<br><br> | <br><br> | ||
==Setting up Time Kiosk== | |||
* Once Wageloch Time Kiosk is installed and credentials are input, you'll be presented with a setup window | |||
* Select Fingerprint Scanner | |||
* You can opt to register 2 fingers (one from each hand) or 4 fingers (2 from each hand) | |||
* Click Done in the lower right to update the settings | |||
* You'll now see a list of your employees with a question mark (?) next to their names, waiting for registration | |||
<br> | |||
* Once Wageloch Time Kiosk is installed and credentials are input, you'll be presented with a setup window | [[File: 1.0 Select Finger Print Scanner.png|500px]] [[File: 1.0 Register Finger Print.png|510px]] [[File: 1.0 Employee List.png|425px]] | ||
* Select Fingerprint Scanner | |||
==Registering Fingerprints== | |||
* Click Done to update the settings | |||
* You'll now see a list of your employees with a question mark | * Click on the name of the employee you wish to register | ||
* They'll be prompted to press their finger down on the scanner | |||
* Click on the | * Press down on the scanner with a little pressure without rolling the finger | ||
* They'll be prompted to press their finger down on the scanner | |||
* Press down on the scanner | |||
* You should see a green tick appear on the screen as the scanner flashes red. | * You should see a green tick appear on the screen as the scanner flashes red. | ||
* Complete this a further 3 times on the same finger | <br> | ||
* You'll then be prompted for a different finger | [[File: 1.0 Employee List.png|350px]] [[File: 1.1 Prompt To Scan.png|425px]] [[File: 1.1 Green Tick.png|425px]] | ||
* Complete the process again | <br> | ||
* All done! The employee you have just registered should no longer have a question mark | * Complete this a further 3 times on the same finger | ||
* You'll then be prompted for a different finger | |||
* Open | * Complete the process again | ||
* Find your name on the screen and click it | * All done! The employee you have just registered should no longer have a question mark (?) next to their name | ||
* Follow the onscreen instructions; make sure to place your finger flat on the pad and press down with a little bit of pressure | <br> | ||
* The scanner should flash red and a message will pop up to welcome you to your shift | [[File: 1.1 No Question Mark.png|425px]] | ||
|<b>Note</b> | |||
* Click on the Settings cog in the top right corner and select Delete Fingerprint | ==Clocking In/Out== | ||
* You'll be prompted for your management login details; sign in. | To clock in or out for your shift and/or breaks using the fingerprint scanner: | ||
* Click on the staff | |||
* Click Delete in the bottom left corner and confirm the deletion | * Open Wageloch Cloud Time Kiosk | ||
* Done to finish. | * Find your name on the screen and click it | ||
* Staff member is now ready to re-register their fingerprints | * Follow the onscreen instructions; make sure to place your finger flat on the pad and press down with a little bit of pressure | ||
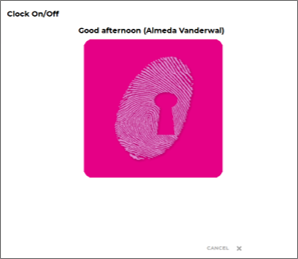
* The scanner should flash red, and a message will pop up to welcome you to your shift or say goodbye! | |||
<br> | |||
[[File: 1.2 Welcome Message 2.png|400px]] [[File: 1.2 Welcome Message 1.png|400px]] | |||
==Deleting Fingerprint Data== | |||
<b>Note:</b> Only users with management permissions in Wageloch can delete fingerprint data. | |||
* Click on the Settings cog in the top right corner and select Delete Fingerprint | |||
* You'll be prompted for your management login details; sign in | |||
[[File: 1.3 Settings Cog and Delete Fingerprint.png|500px]] [[File: 1.3 Management Login.png|300px]] | |||
* Click on the staff member’s name from the list. | |||
* Click Delete in the bottom left corner and confirm the deletion | |||
* Click Done in the bottom right to finish | |||
<br> | |||
[[File: 1.3 Delete and Confirm.png|500px]] [[File: 1.3 Click Done.png|300px]] | |||
* Staff member is now ready to re-register their fingerprints | |||
Revision as of 02:12, 15 February 2023
If you've elected to use a fingerprint scanner as your clocking method, you are required to install Wageloch Time Kiosk on a Windows-based computer. You can find a step by step guide over at Installing Wageloch.
As the fingerprint scanner involves biometric scanning, it's important that we mention the Biometric Privacy and how data is stored.
Setting up Time Kiosk
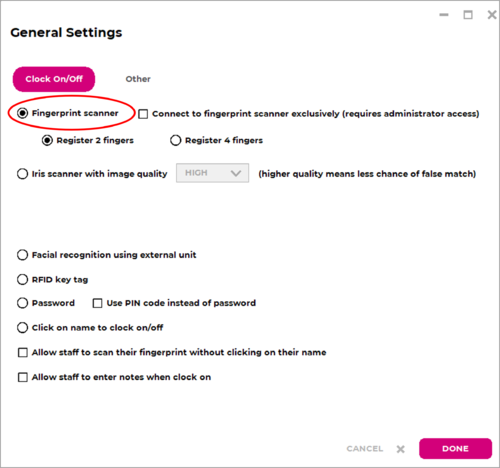
- Once Wageloch Time Kiosk is installed and credentials are input, you'll be presented with a setup window
- Select Fingerprint Scanner
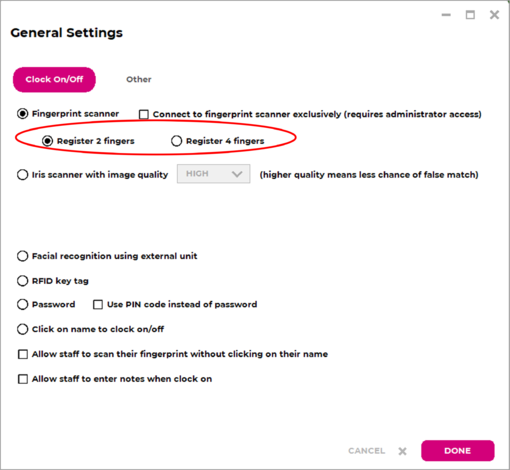
- You can opt to register 2 fingers (one from each hand) or 4 fingers (2 from each hand)
- Click Done in the lower right to update the settings
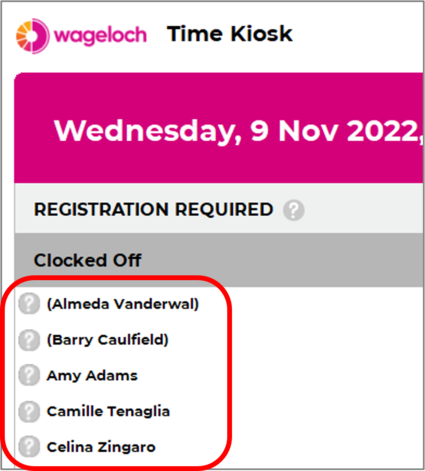
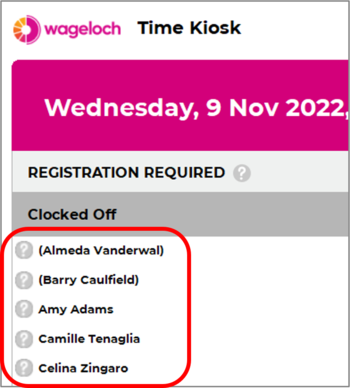
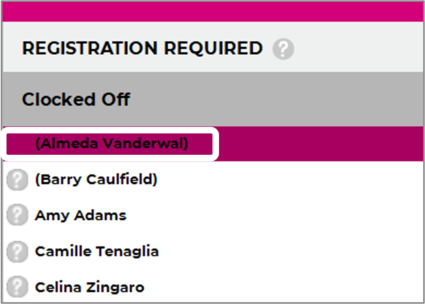
- You'll now see a list of your employees with a question mark (?) next to their names, waiting for registration
Registering Fingerprints
- Click on the name of the employee you wish to register
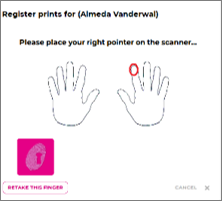
- They'll be prompted to press their finger down on the scanner
- Press down on the scanner with a little pressure without rolling the finger
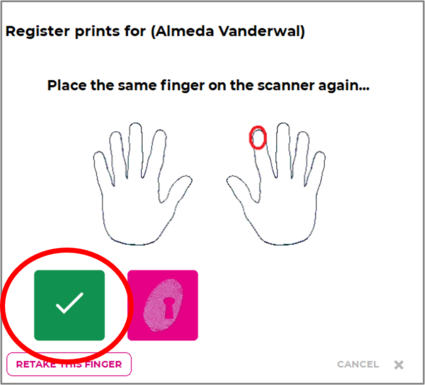
- You should see a green tick appear on the screen as the scanner flashes red.
- Complete this a further 3 times on the same finger
- You'll then be prompted for a different finger
- Complete the process again
- All done! The employee you have just registered should no longer have a question mark (?) next to their name
Clocking In/Out
To clock in or out for your shift and/or breaks using the fingerprint scanner:
- Open Wageloch Cloud Time Kiosk
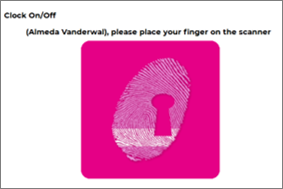
- Find your name on the screen and click it
- Follow the onscreen instructions; make sure to place your finger flat on the pad and press down with a little bit of pressure
- The scanner should flash red, and a message will pop up to welcome you to your shift or say goodbye!
Deleting Fingerprint Data
Note: Only users with management permissions in Wageloch can delete fingerprint data.
- Click on the Settings cog in the top right corner and select Delete Fingerprint
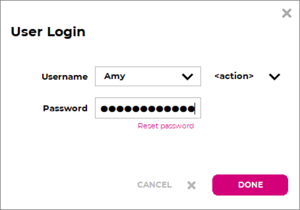
- You'll be prompted for your management login details; sign in
- Click on the staff member’s name from the list.
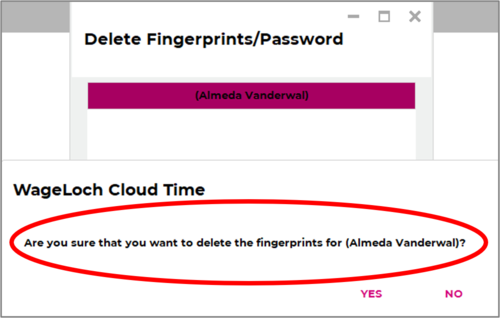
- Click Delete in the bottom left corner and confirm the deletion
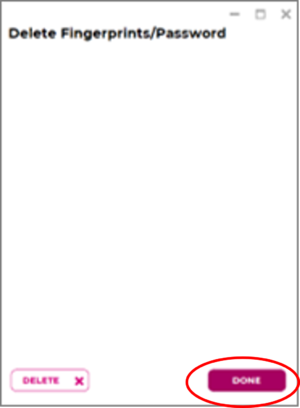
- Click Done in the bottom right to finish
- Staff member is now ready to re-register their fingerprints
