Clocking on a Desktop/Laptop
USB: Fingerprint Scanner
Setting up Time Kiosk
- Connect your fingerprint scanner to an available USB port on your computer.
- Once Wageloch Time Kiosk is installed and credentials are input, you'll be presented with a setup window
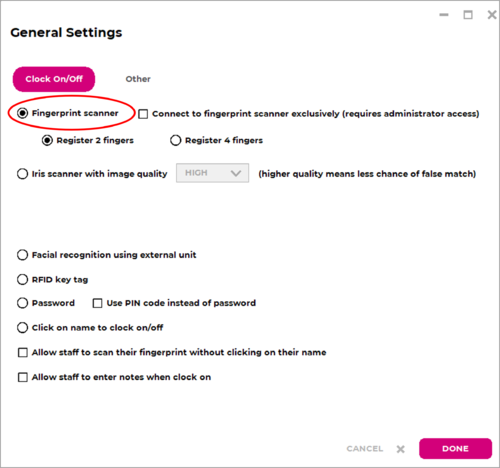
- Select Fingerprint Scanner
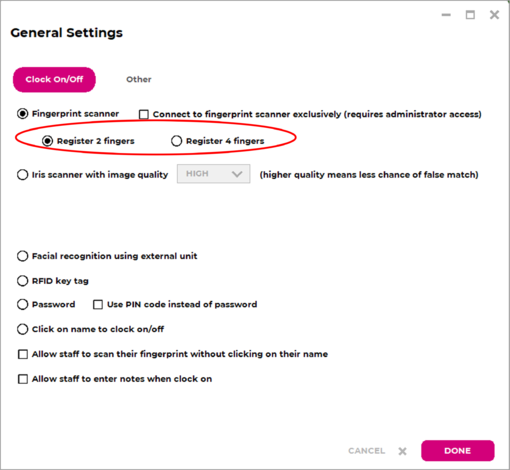
- You can opt to register 2 fingers (one from each hand) or 4 fingers (2 from each hand)
- Click Done in the lower right to update the settings
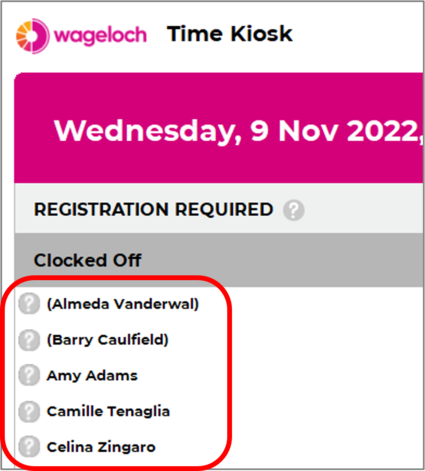
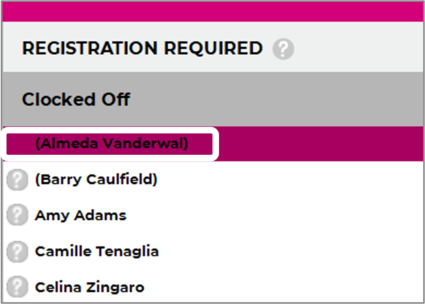
- You'll now see a list of your employees with a question mark (?) next to their names, waiting for registration
Registering Fingerprints
- Click on the name of the employee you wish to register
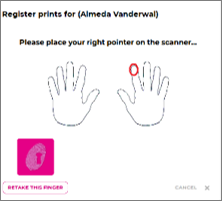
- They'll be prompted to press their finger down on the scanner
- Press down on the scanner with a little pressure without rolling the finger
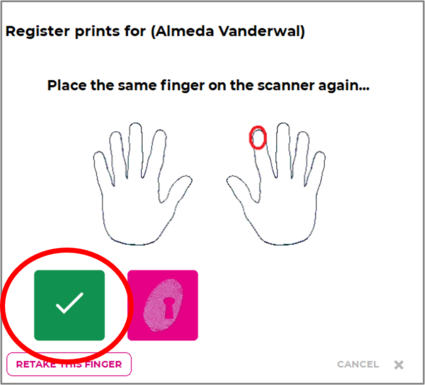
- You should see a green tick appear on the screen as the scanner flashes red.
- Complete this a further 3 times on the same finger
- You'll then be prompted for a different finger
- Complete the process again
- All done! The employee you have just registered should no longer have a question mark (?) next to their name
Clocking In/Out
To clock in or out for your shift and/or breaks using the fingerprint scanner:
- Open Wageloch Cloud Time Kiosk
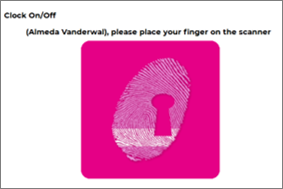
- Find your name on the screen and click it
- Follow the onscreen instructions; make sure to place your finger flat on the pad and press down with a little bit of pressure
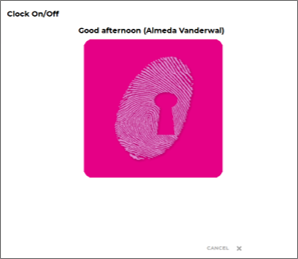
- The scanner should flash red, and a message will pop up to welcome you to your shift or say goodbye!
Deleting Fingerprint Data
Note: Only users with management permissions in Wageloch can delete fingerprint data.
- Click on the Settings cog in the top right corner and select Delete Fingerprint
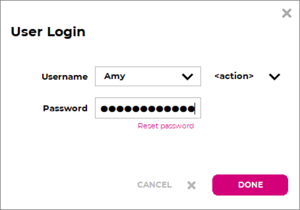
- You'll be prompted for your management login details; sign in
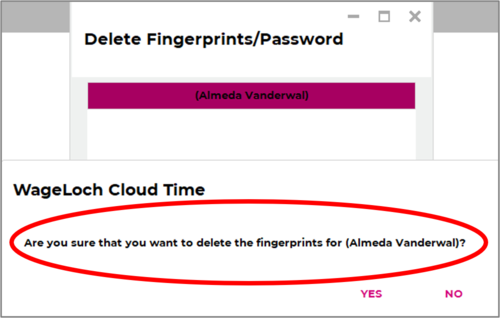
- Click on the staff member’s name from the list.
- Click Delete in the bottom left corner and confirm the deletion
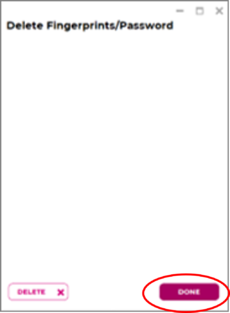
- Click Done in the bottom right to finish
- Staff member is now ready to re-register their fingerprints
Desktop: Password
Setting up Time Kiosk
After following the Installing Wageloch guide:
- Open Wageloch Time Kiosk from the Desktop
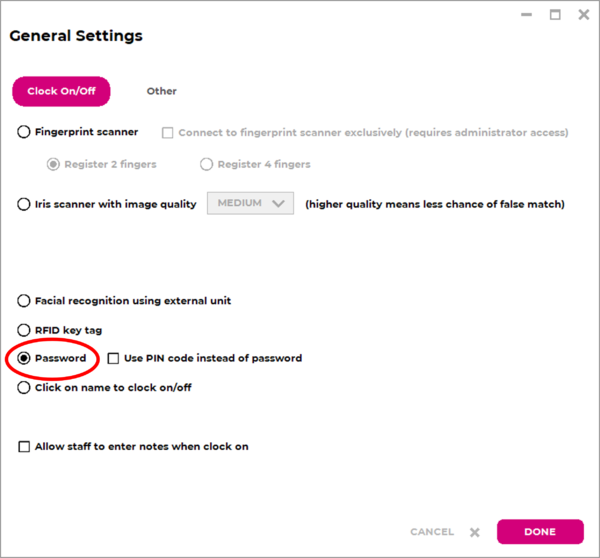
- When being prompted for the Clocking Method, select Password
- Click Done in the bottom right to save
OR
- Click on the Settings cog and select General
- Enter in your Wageloch administrator details and log in
- Select Password from the list of clocking options
- Click Done to save
Staff Password Creation
Once your installation and setup has been completed, staff will be ready to register with a Password.
- Click on the employee’s name
- Type a password (minimum of 6 characters, can be upper/lowercase and numbers)
- Type two more times for confirmation
- Registration is now complete; staff can test clocking in/out
Deleting Passwords
Deleting Passwords may be required if the staff member forgets their password or if it was mistyped.
- Open Wageloch Time Kiosk.
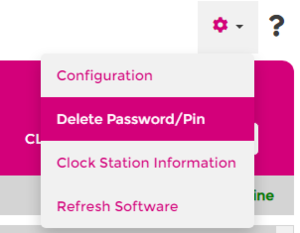
- Click on the Settings cog and select Delete Password.
- Click on the name of the employee from the list.
- Click Delete in the bottom left and Done to complete.
- You can now register the employee password again.
Desktop: PIN
Setting Up Time Kiosk
After following the Installing Wageloch guide:
- Open Wageloch Time Kiosk from the Desktop
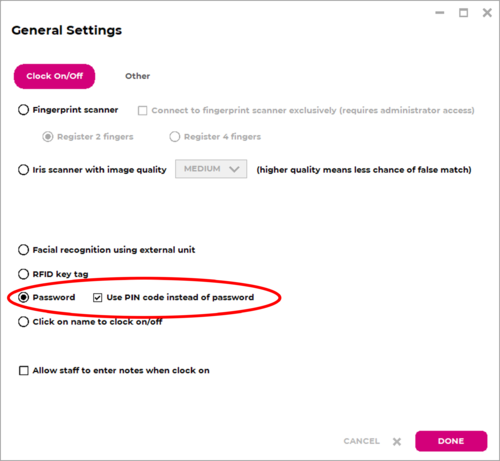
- When being prompted for the Clocking Method, select Password and Enable PIN
- Click Done in the bottom right to save
OR
- Open Time Kiosk from the desktop.
- Click on the Settings cog and select General
- Enter in your Wageloch administrator details and log in
- Select Password and Enable PIN from the list of clocking options
- Click Done in the bottom right to save.
Creating a PIN
Once your installation and setup has been completed, staff will be ready to register with a PIN.
- Click on the employee’s name
- Type a 4-digit PIN
- Type it again
- Registration is now complete; staff can test clocking in/out.
Deleting PIN codes
Deleting PIN codes may be required if the staff member forgets their PIN or if it was mistyped.
- Open Wageloch Time Kiosk on desktop, tablet or web.
- Click on the Settings cog and select Delete PIN.
- You'll be prompted for your administration credentials.
- Click on the name of the employee from the list.
- Click Delete in the bottom left and Done to complete.
- You can now re-register the employee PIN again
Desktop: RFID Scanner
When using an RFID reader and tags, this required Wageloch Time Kiosk to be installed on a Windows-based computer. If you've not yet set up Time Kiosk, you can get information from the Installing Wageloch article.
Time Kiosk Setup
- Make sure your RFID reader is connected to a working USB port.
- After following the Installing Wageloch guide, open Wageloch Time Kiosk from your desktop.
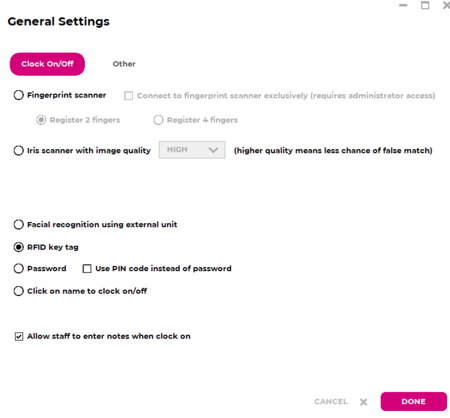
- You'll be prompted with clocking methods to pick from; select RFID key tag from the list.
- Click Done to update.
RFID Tag Registration
- Give your employees their assigned ID tag.
- In Wageloch Time Kiosk, click on the name of the employee you want to register.
- Swipe the ID tag over the scanner; you should hear a beep if successful as well as a notification on the screen.
- This should complete registration, the employee should no longer have a question mark ? next to their name.
Clocking In/Out
- To allow staff to clock in/out, Wageloch Time Kiosk must be open.
- When an employee starts or ends their shift, they just need to swipe their ID tag over the reader.
- This will beep and display a good morning, good afternoon or goodbye message on the screen.
- The employee can now go on with their day.
Deleting/Reassigning RFID Tags
- Open Wageloch Time Kiosk.
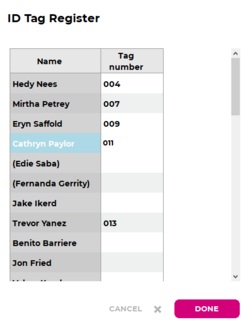
- Click the Settings cog and select ID Tag Register.
- Log in with your Wageloch admin credentials.
- Find the staff member in the list of names and delete the number from the row next to their name.
- Click Done in the bottom right to save and delete.
- You can now attempt to re-register with the same ID tag or assign the employee a new ID tag.
Desktop: Click Name
Setting up Time Kiosk
After following the Installing Wageloch guide:
- Open Wageloch Time Kiosk from the Desktop
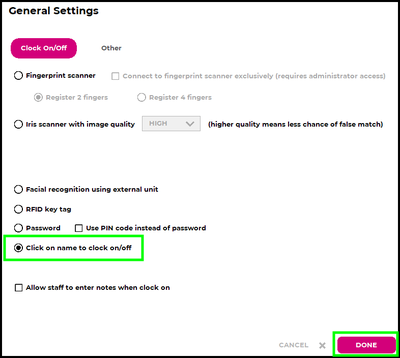
- When being prompted for the Clocking Method, select Click on name to clock on/off
- Click Done in the bottom right to save
Staff can now simply click on their name to clock in/out for their shift!

