Difference between revisions of "Create Manual Leave Requests"
From Wageloch Wiki
| (2 intermediate revisions by the same user not shown) | |||
| Line 27: | Line 27: | ||
[[File: 0.8 LEAVE CLICK SAVE.png|650px]] [[File: 0.9 Booked.png|750px]] | [[File: 0.8 LEAVE CLICK SAVE.png|650px]] [[File: 0.9 Booked.png|750px]] | ||
<br><br> | <br><br> | ||
=== Manual Bookings - A Quick Clip=== | |||
[[File:Manual-leave.gif]] | |||
<br> | |||
<br> | |||
<br> | |||
[[File:Back-button-new.png|link=Booking Leave and Unavailability]] [[File:Home-button-new.png|link=Main Page]] [[File:Next-button-new.png|link=Approve/Decline Leave Requests]] | |||
Latest revision as of 07:00, 8 September 2023
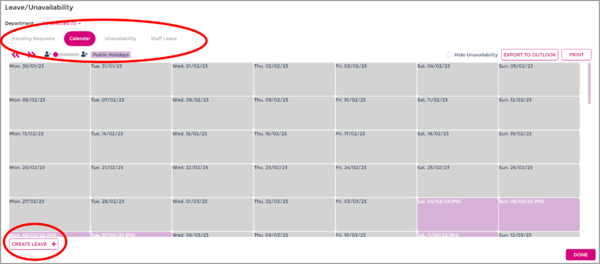
- Click on the Calendar icon in the top right corner.
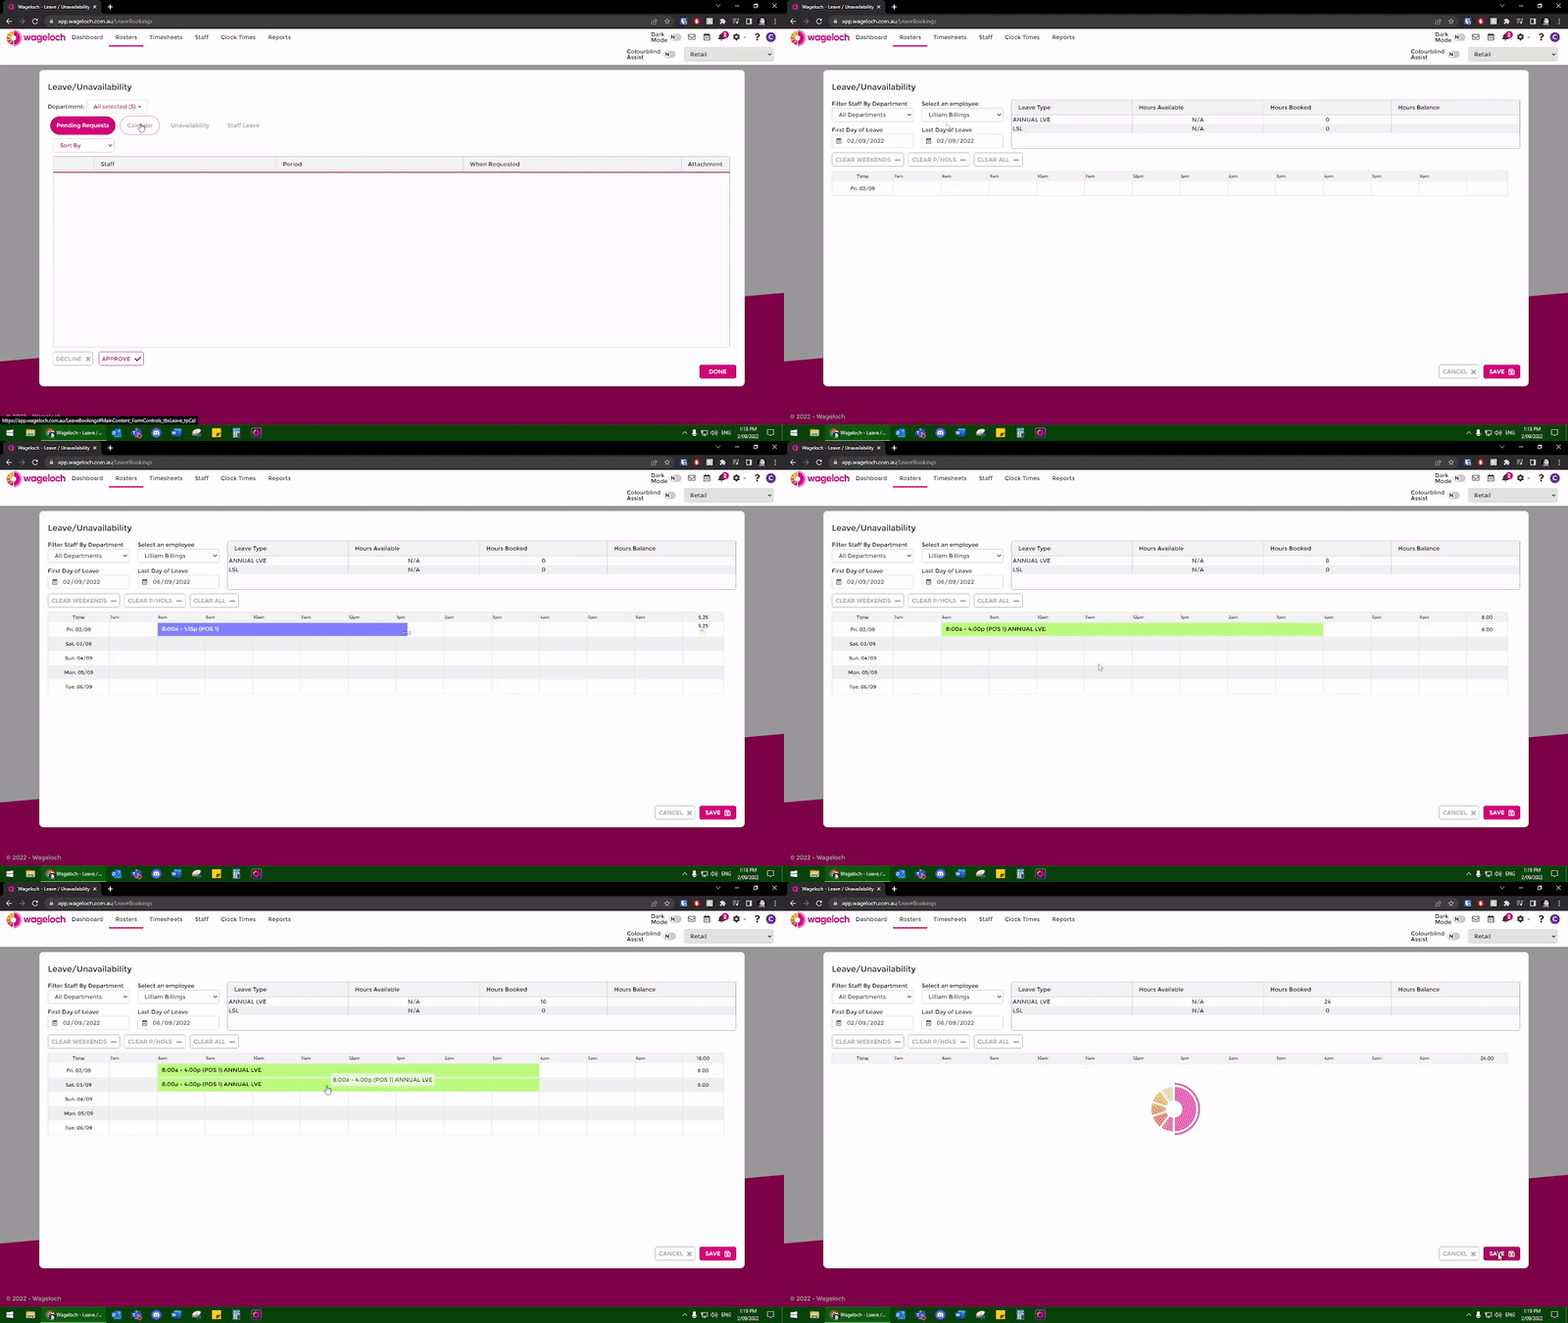
- When the page loads, click on the Calendar tab.
- Click Create Leave in the bottom left corner.
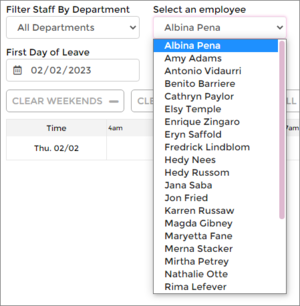
- Select the employee who is wanting to book leave.
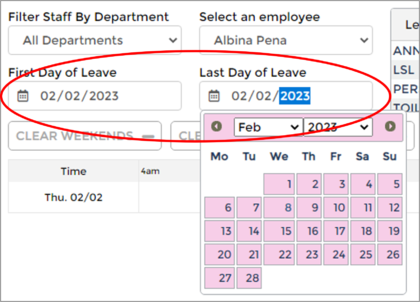
- Select the day or dates the employee will be on leave for.
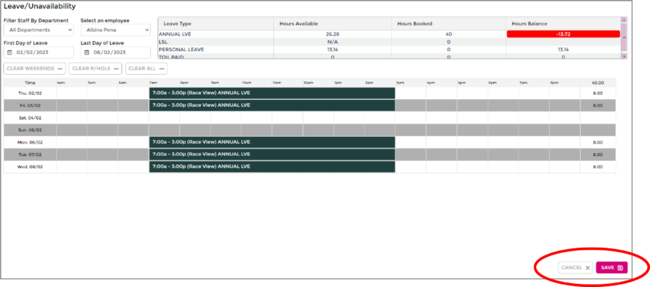
- In the shift rows below, left-click and drag their normal shift times in.
- Right-click on the shift, go to Roles and assign the leave type.
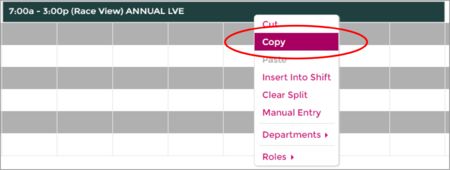
- Add this for each day, or try and use right-click Copy and right-click Paste.
- Click Save to approve the leave request.
- The system will tell you Leave was saved successfully.
- Your employee now has leave booked!
This request will now sit in the system until the roster and timesheet period the leave is in, which will pre-populate data and let you know the staff member they're away.
